Splice-In Patch Lead – 4-Pin Male Aviation to Open Wire for Reversing Camera Replacement
This splice-in patch lead is designed for integrating older or non-standard reversing cameras into modern 4-pin aviation setups. It provides a reliable solution for replacing a broken or faulty reversing camera by converting uncommon connectors into the widely used 4-pin male aviation type—perfect for seamless upgrades.
Connector & Wiring Details:
One end features a:
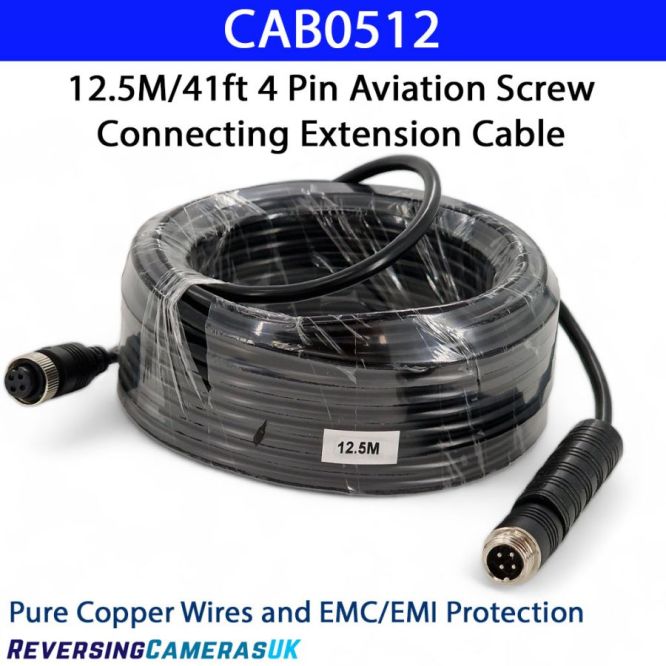
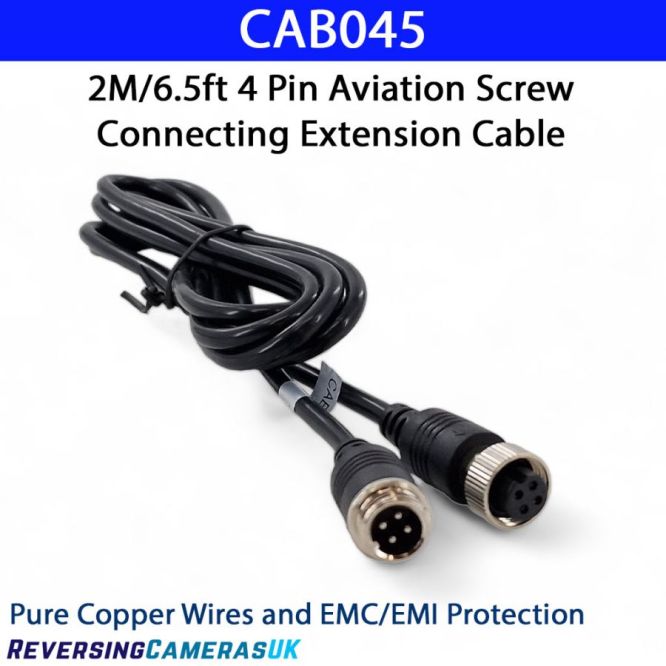
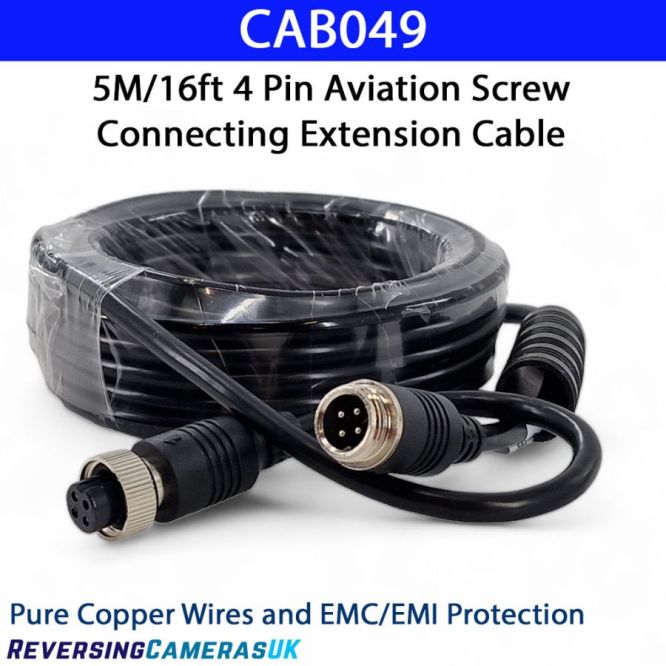
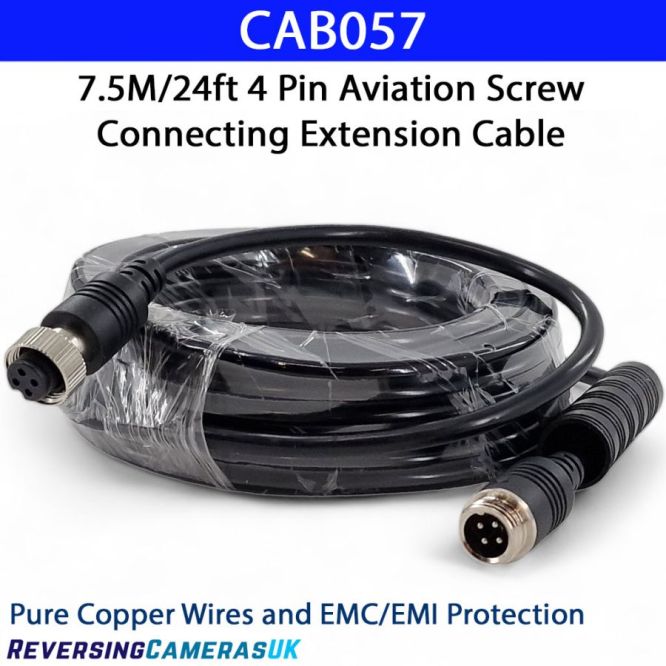
- 4-Pin Male GX12 Aviation Connector – The most common connector in use today and the standard on our cameras.
The other end breaks out into:
- Yellow Wire – Video Signal (connects to the monitor’s video input)
- Red Wire – +12V Power (supplies power to the camera)
- Bare Copper Wire – Earth/Ground (combines both the main camera earth and video shield for proper grounding)
- White Wire – Audio Signal (optional – only needed if your camera has a microphone and your monitor supports audio)
Key Features:
- Ideal for replacing older or faulty reversing cameras with non-standard connectors
- Provides a direct splice-in solution for replacement of broken reversing cameras
- Uses high-quality pure copper wiring to maintain signal integrity and minimise interference
- Compatible with most 4-pin aviation-style reversing cameras and monitors
Step-by-Step Installation Guide
Disconnect Power:
Remove the Old Connector:
Separate the Wires:
Power Up the System:
Identify the Power Wire(s):
Use a multimeter to determine which wire(s) carry power.
Typically, only one wire is powered, but occasionally, multiple wires might carry power.
Note down the colour of the wire(s) carrying +12V power.
WARNING: Do not assume wire colours follow a conventional pattern; variations exist across different systems.
Turn Off the System Again:
Connect the Power Wire:
Locate the red wire on our new cable.
Connect it to the wire identified as +12V power from your existing wiring.
Best practice: Solder the connection for a reliable and durable joint.
CAUTION: The positive power wire is the only one that can cause system damage if connected incorrectly. Double-check your connection before proceeding.
Connect the Video Signal Wire:
Look for a wire with shielding on your main extension cable. This is likely the video signal wire.
Connect it to the yellow wire on the new lead.
Twist the shielding from the old signal wire with the earthed shielding on the new cable for proper grounding.
Insulate the connections to prevent interference.
Test the Video Signal:
Power on the system to check if the camera works.
Many systems internally link the earth shielding with the main ground in the connector, so your camera may function immediately.
If there is no picture, proceed to the next step.
Identify the Earth Wire:
If the camera doesn’t display an image, locate the correct earth wire.
Ensure no spare wires are carrying positive voltage before testing.
Touch the remaining wires from your old cable against the earth/screening on the new connection cable.
Once you see a picture on the screen, secure and insulate the correct earth connection.
Optional - Connect Audio (if applicable):
If your camera supports audio (most do not) and your monitor has a speaker, you can enable sound.
Identify the white wire from our cable.
Touch it against the remaining spare wires on your existing cable to find the one that produces audio.
Secure the connection once identified.
Secure and Insulate All Connections:
Final Testing:
Congratulations!
Your installation is now complete. Time to put the kettle on and enjoy your properly connected camera system!
This adaptor ensures a simple and effective way to keep your system running without replacing your entire setup. Whether you're upgrading or repairing, it offers a hassle-free connection for a smooth installation.
Product Guarantee & 60 Days Return Policy
We offer a 2-year guarantee on all products purchased from this site (excluding clearance items) from the date of purchase. This guarantee covers defects in materials and workmanship under normal use.
What’s Not Covered:
Damage caused by misuse, improper installation, or accidents.
Cosmetic damage (e.g., scratches or marks) that does not affect the functionality of the product.
User-inflicted damage.
Liability:
Our liability is limited to the replacement or repair of the faulty item. We do not cover additional costs such as installation or fitting, or any incidental expenses arising from a faulty product.
Returns Policy:
We offer a 60-day returns window for all products. If you wish to return an item due to a change of mind, please ensure that the product is in resaleable condition, with all original packaging intact.
Returns Process:
If you experience any issues with your product, or wish to return an item, please contact us directly. If we suspect the item is faulty we will request it is returned for assessment, at this point we will guide you through the return process to resolve the issue.
UK Mainland Shipping
We offer three delivery options during checkout (for larger consignments, two options will be available):
Royal Mail Tracked – For smaller or lighter orders, sent via Royal Mail’s Tracked Service. You'll receive email and SMS notifications with tracking updates. This option won’t be available for heavier orders.
DPD 2-Day Delivery – For both small and large orders. Your parcel will be delivered by DPD Local within two working days (if ordered before 12:30PM).
DPD Next-Day Delivery – For both small and large orders. Your parcel will be delivered by DPD Local the next working day (if ordered before 12:30PM).
Highlands and Islands UK Shipping
We provide a 2-3 day delivery service via Royal Mail or Parcel Force, depending on the size of the order. The cost remains the same as mainland UK delivery. Smaller orders are sent via Royal Mail, while larger items are sent with Parcel Force.
International Shipping
For European deliveries, we select the best carrier for each destination, avoiding budget couriers known for parcel losses. Orders to Southern Ireland are always sent via DPD, while other countries are generally served by Parcel Force, UPS, or FedEx. Please ensure you provide a phone number for international shipments. If you’re ordering from a business in Europe, including your VAT or EORI number can help speed up the customs process.
When shipping outside of the UK, we automatically remove VAT (Tax) from the price at checkout, so all prices will appear without UK VAT once a non-UK country is selected. If you’re ordering from the Channel Islands, be sure to select Jersey or Guernsey to ensure UK sales tax is removed.